- HOME
- 제품소개
- PRECITEC 공초점 변위 센서
- Chromatic Line Sensor
- Specification
Chromatic Line Sensor
Specification 
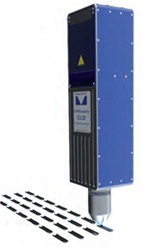
CHRocodile CLS, the PRECITEC chromatic confocal line sensor offers an incredibly fast 3D measurement of
384.000 points per second with nanometric scale resolution. Thanks to its robust and highly integrated design,
CHRocodile CLS is perfectly suited for easy integration into inspection machines in the production line, including
harsh industrial environments. An outstanding dynamic range and an excellent signal to noise ratio make the
CHRocodile CLS the best measuring tool for all materials - including polished and highly tilted surfaces. With its
unrivaled performance/price ratio, CHRocodile CLS is the best choice for ultrafast 3D inspection.
Efficient
- High-speed
- Non-contact
- Precise
User Friendly
- Maintainance-free
- Easy to integrate
- Robust
Versatile
- Instantaneous profile measurement
- Inline inspection
- Interchangeable optical probes
- Distance and Thickness
HIGH-SPEED 2,000 profiles/s, sampling 384,000 points/s
| Sensor |
CHRocodile CLS |
| application |
distance, thickness |
| lines / second |
100 - 2000 |
| number of points / line |
192 |
| measuring range |
depends on optical probe |
| synchronization with external devices |
trigger input, synchronizing output, 5 encoder inputs |
| interface |
Ethernet, service ports: RS-422, USB |
| transfer rate |
100 Mbit (Ethernet), 9600 - 921600 Baud (RS-422), 921600 Baud (USB: virtual comport) |
| light source |
LED |
| operating temperature |
+5°C up to +50°C |
| storage temperature |
-20°C up to +70°C |
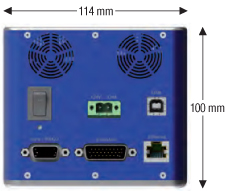
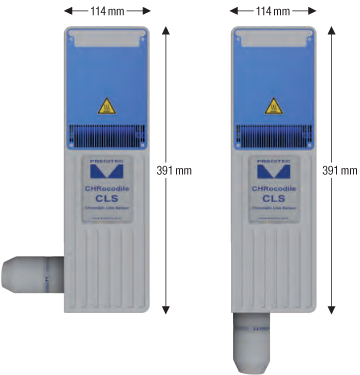
| dimension without probe (w x h x d) |
391 mm x 100 mm x 114 mm |
| weight |
4 kg |
| supply voltage |
24 +/- 10% V DC (with separate power supply 100 - 240 V AC / 50 Hz - 60 Hz) |
| rated power |
40 W |
| protection class |
IP 50 (DIN 40050/ IEC 144) |
| note |
SDK available .NET Framework 4 and higher compatible |
| order number |
5007994 (straight); 5007995 (90° angled) |
The given data was generated for a typical application and may be different given other circumstances. Furthermore misprints, changes and/or innovations may lead to differences in
the listed measurements, technical data and features. Therefore all information is non-binding and technical data, measurements as well as features are not guaranteed by information
in this product information.
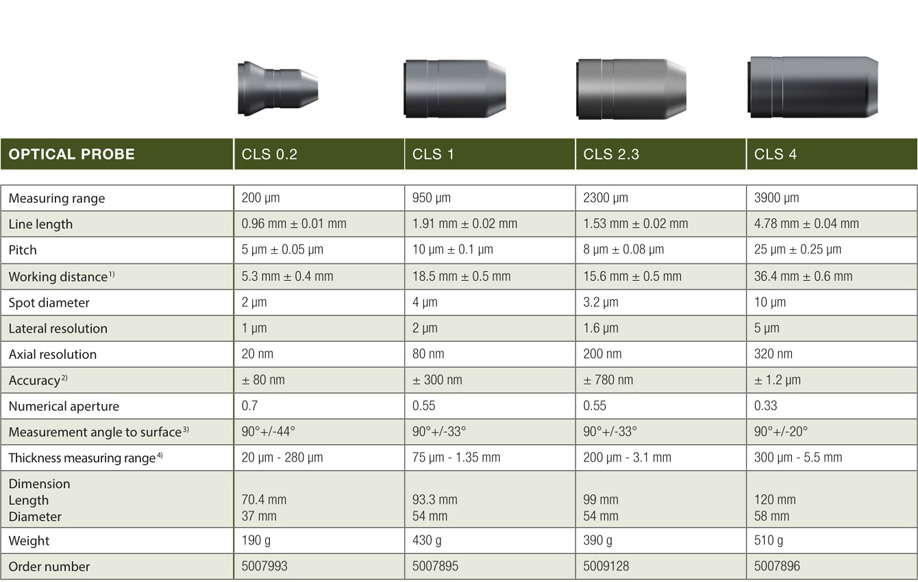
Optical Probe

1) bottom of optical probe to middle of measuring range | 2) measurement on perpendicular mirror at 20° C | 3) decreasing accuracy on the limits | 4) refractive index n = 1.5
Dimensional drawings
Available configurations (90° angled / straight)

External interface
